Email: info@zenconix.com

Send email by Jenkins


Visit Site:

Overview

In this post, we are going to take a look on how to setup basic email configuration for Jenkins and send mail if build job fails.

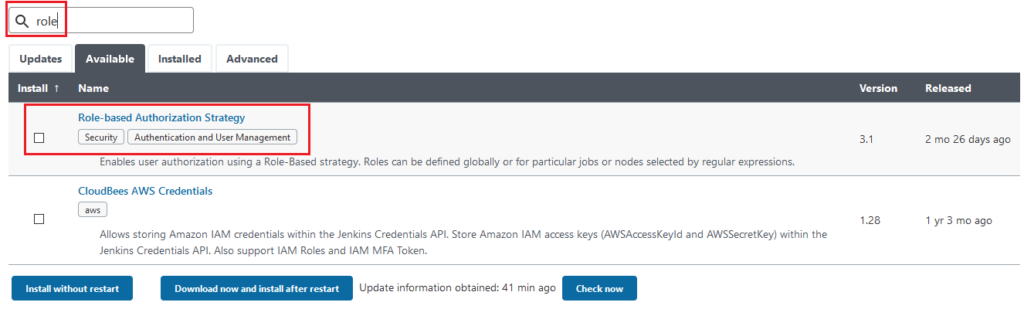
First and formost, make sure, you have installed some email plugin so that it will allow you to configure email setup.

You can install any email extension plugin example —

Email Extension – https://plugins.jenkins.io/email-ext/

Or

Mailer – https://plugins.jenkins.io/mailer/

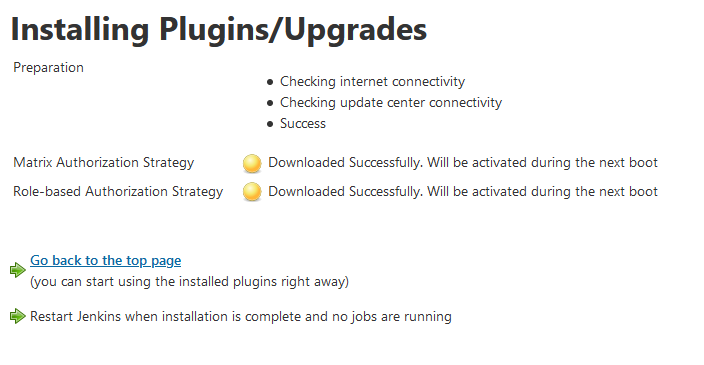
I have installed mailer plugin, once it is installed, it will allow us to setup SMTP settings in Jenkins.

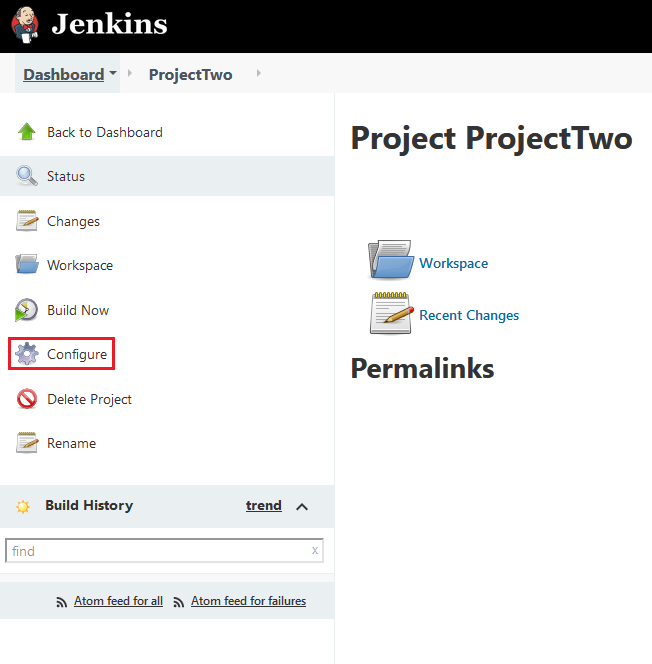
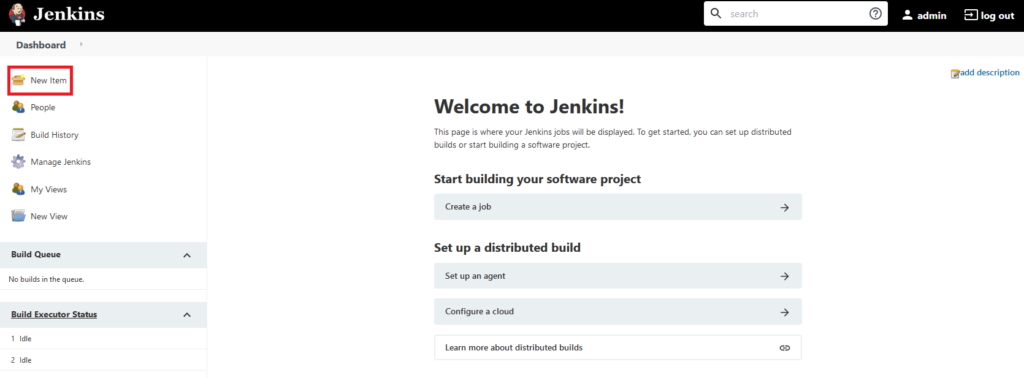
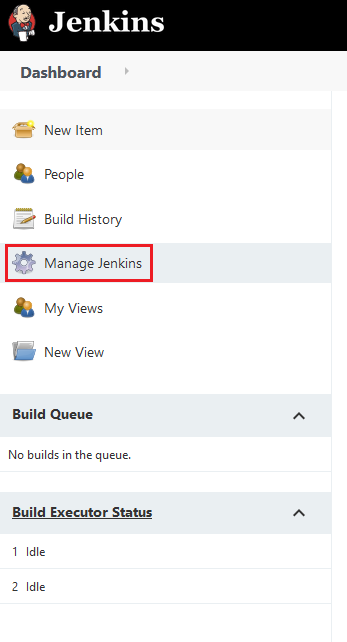
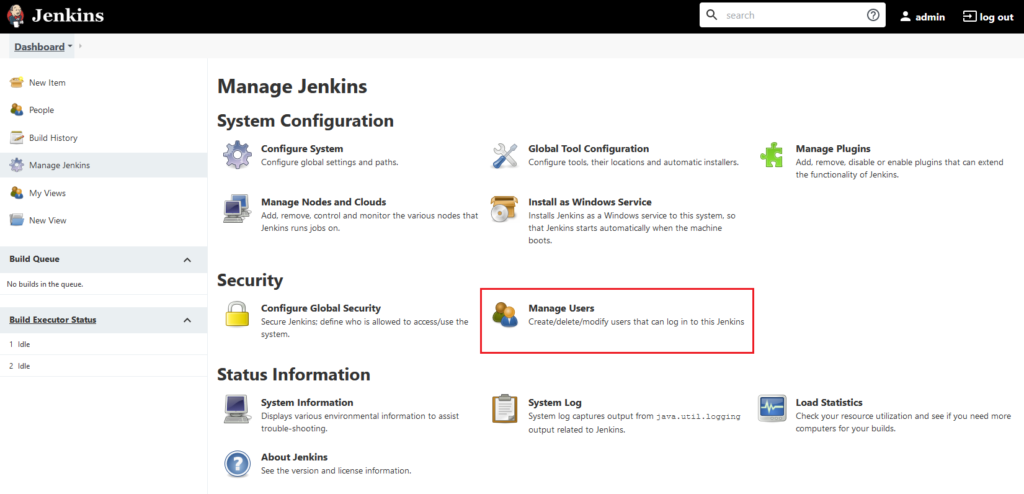
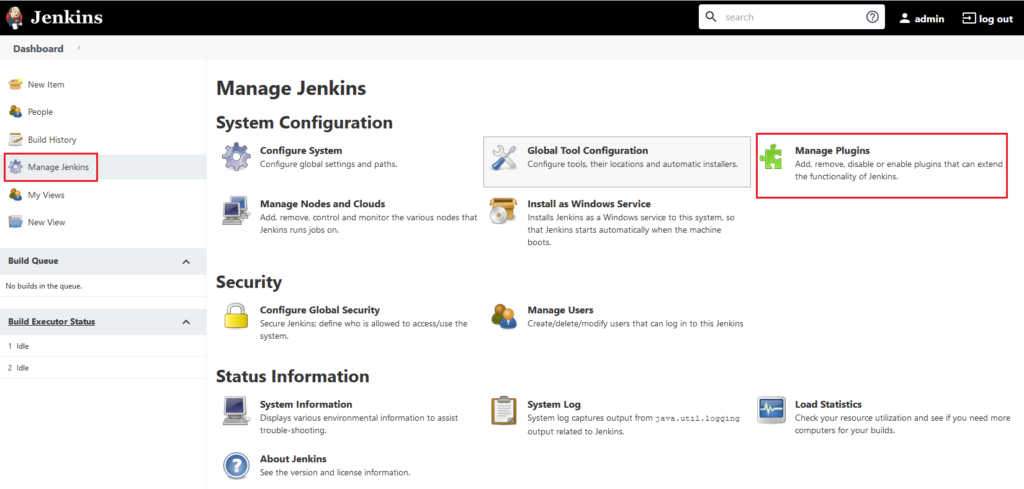
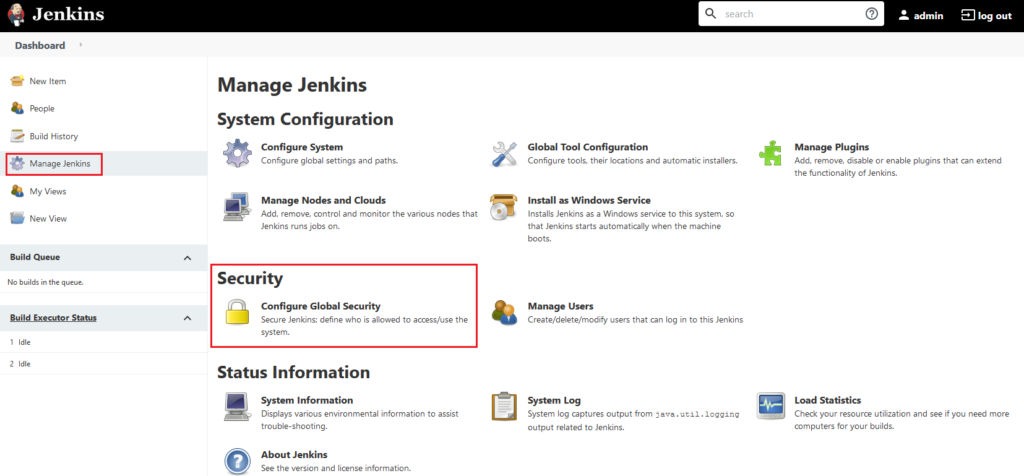
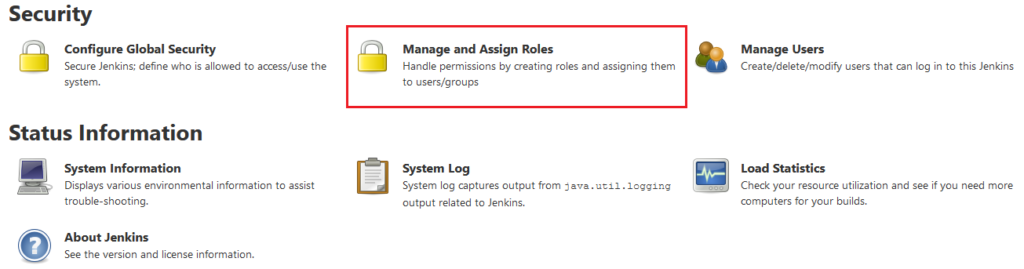
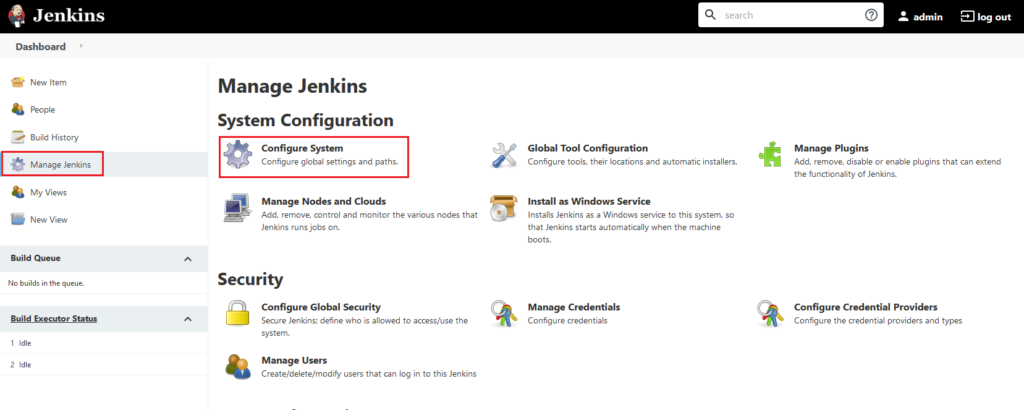
Go to “Manage Jenkins” and then go to “Configure System”

Scroll down at below, there we can see setting for Email notification

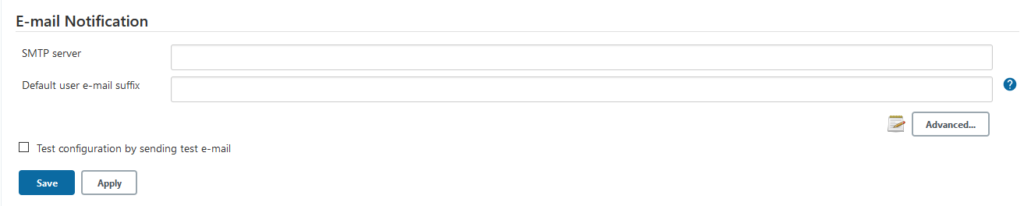
We are going to use Gmail as SMTP server here in this post.

Enter information as below

SMTP Server: smtp.gmail.com

click on advance button and fill up information as below

Username: your gmail’s username

Password: your gmail password

Use SSL : checked

SMTP Port: 465

Reply-to-adress: your email address

Now check on : Test configuration by sending test e-mail

It will ask to enter recipient’s email address, enter the address and click on “Test Configuration” button.

It should show – Email was successfully sent

Now our email configuration is completed.


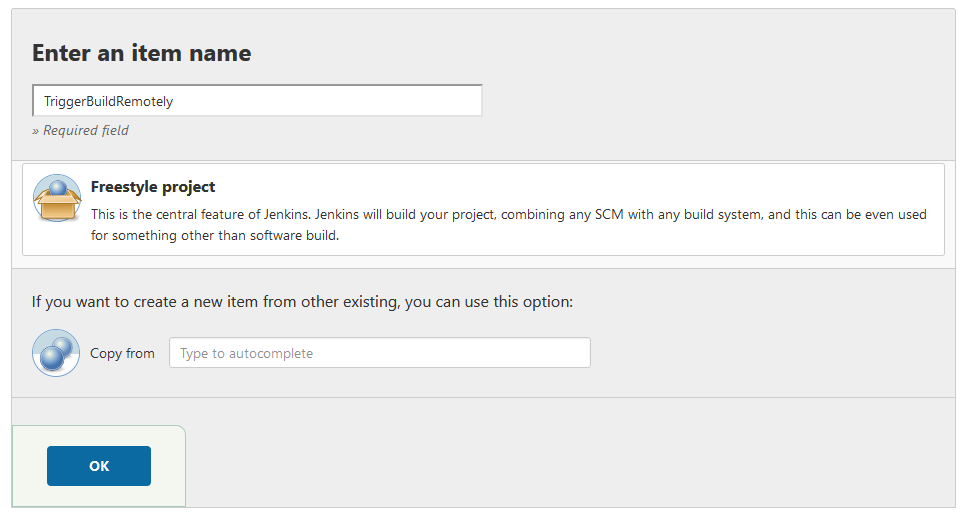
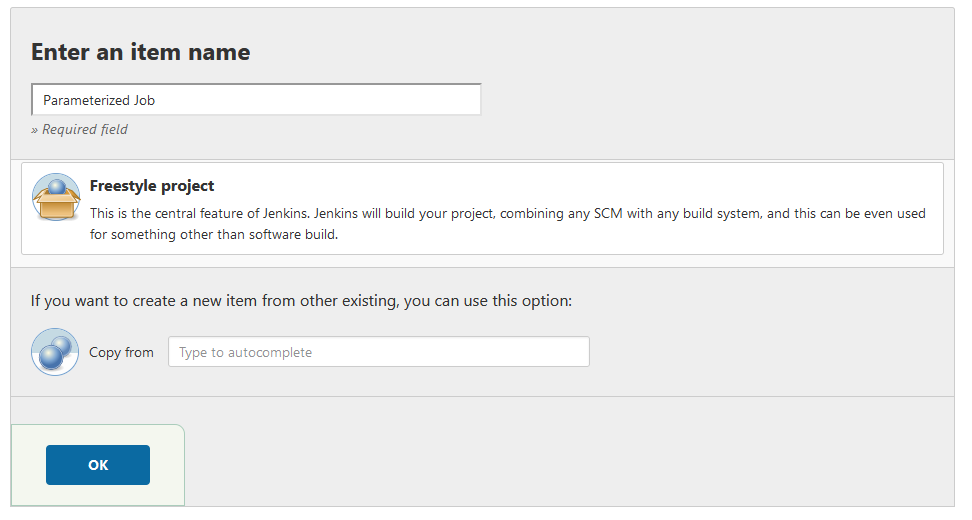
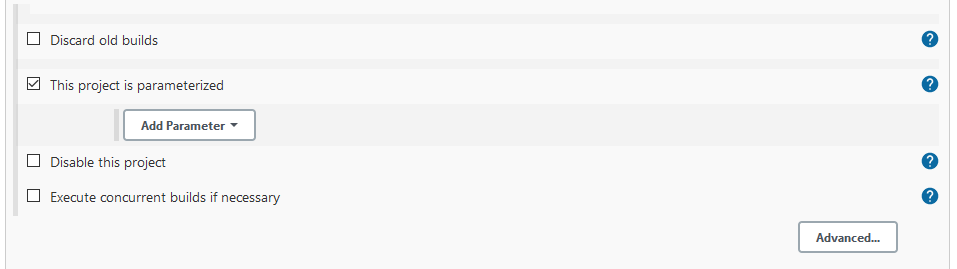
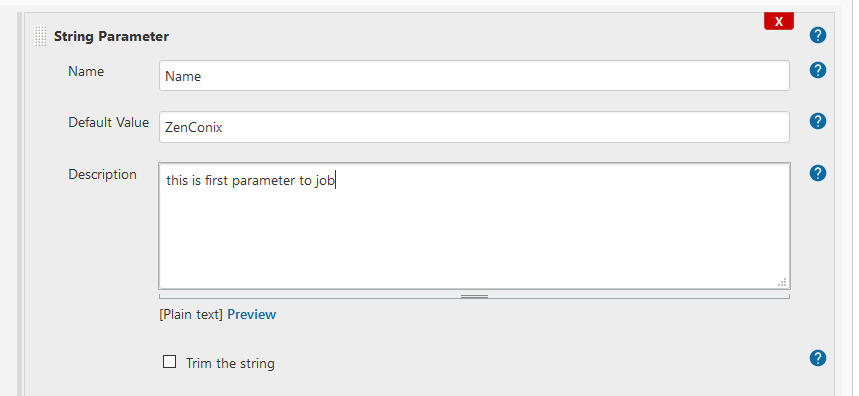
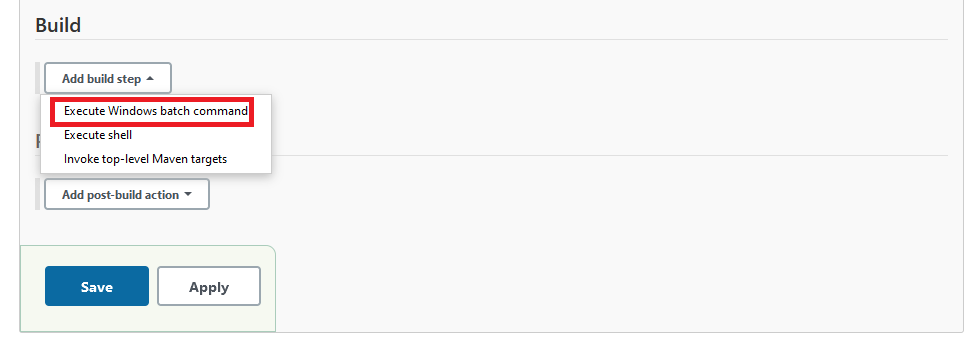
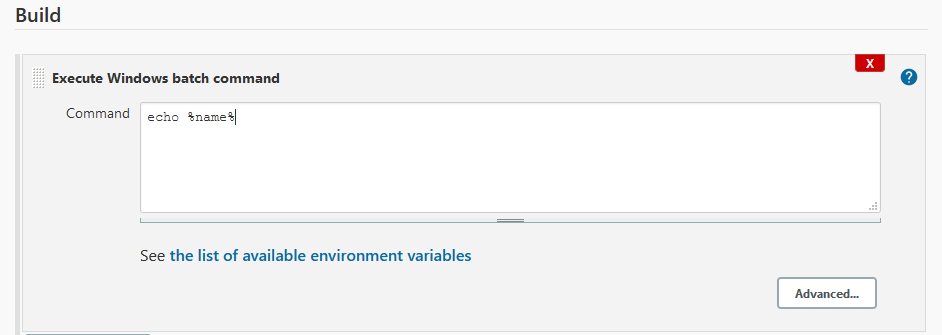
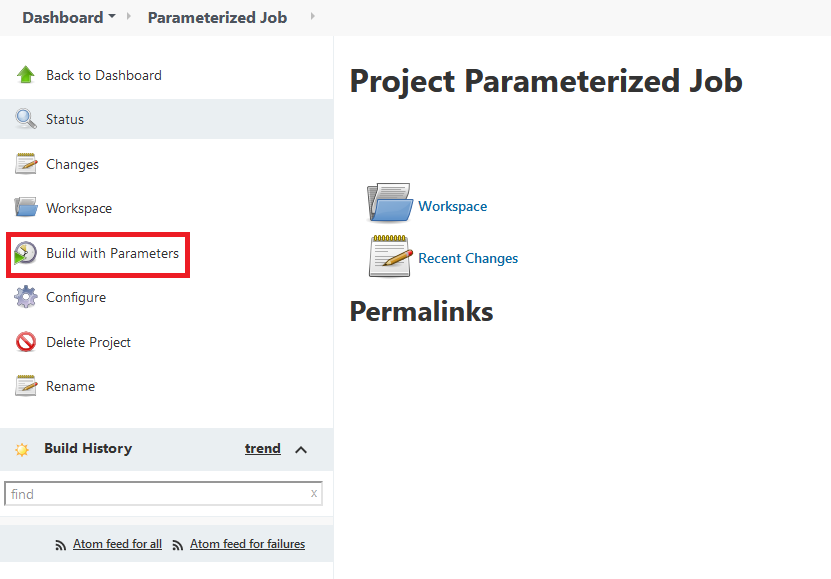
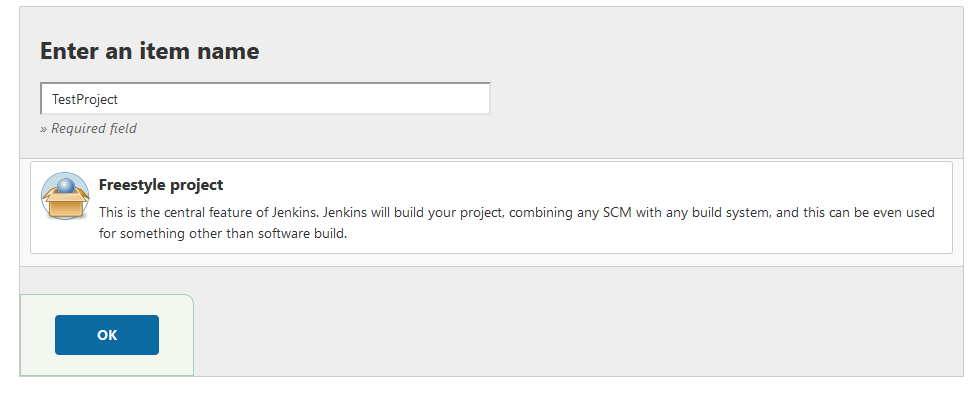
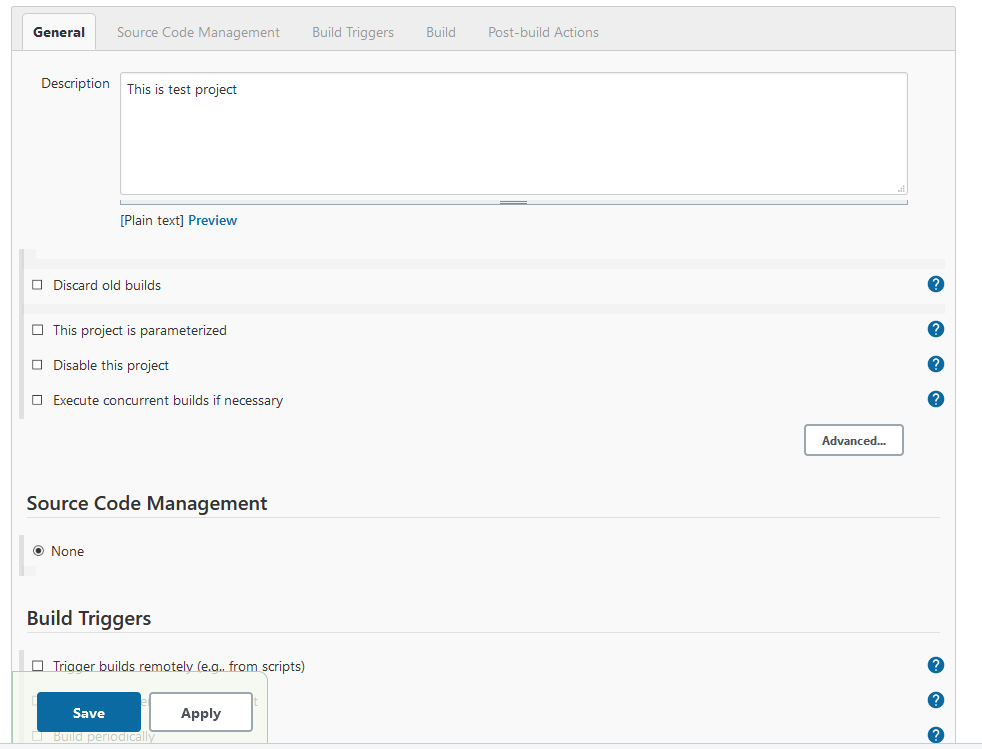
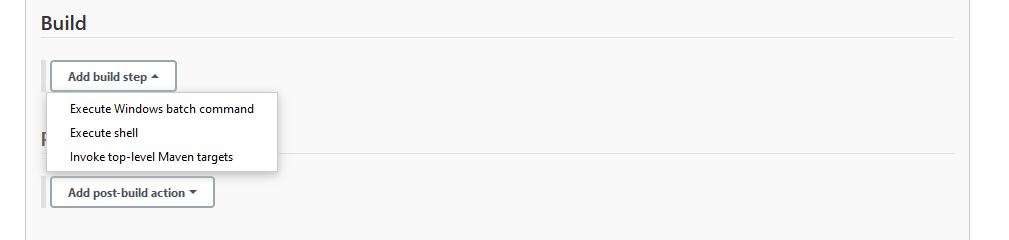
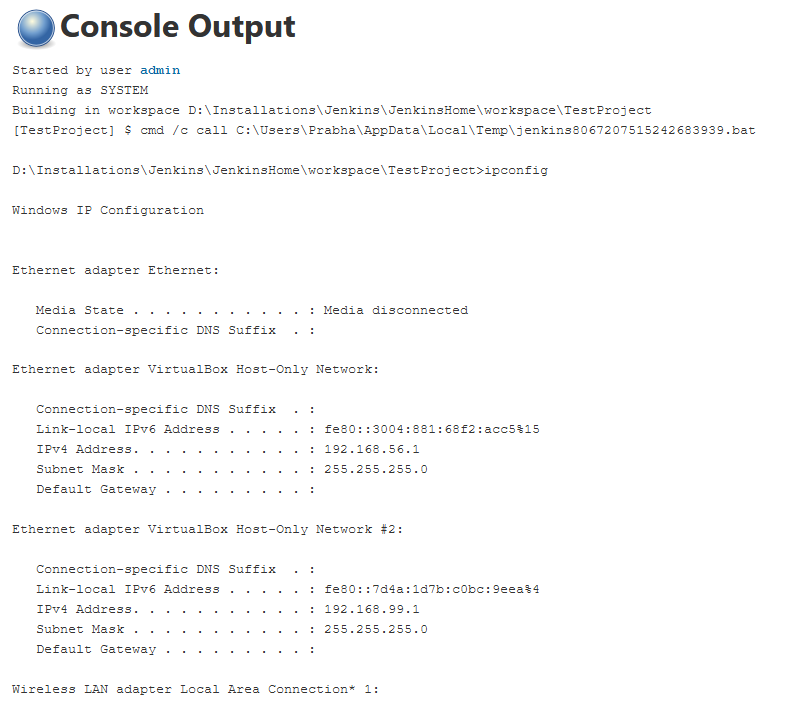
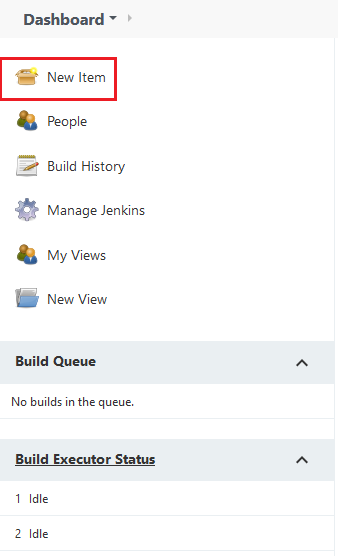
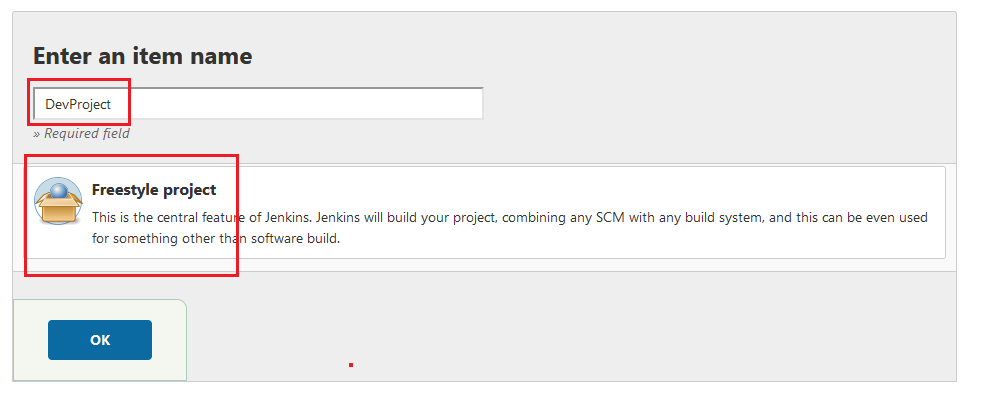
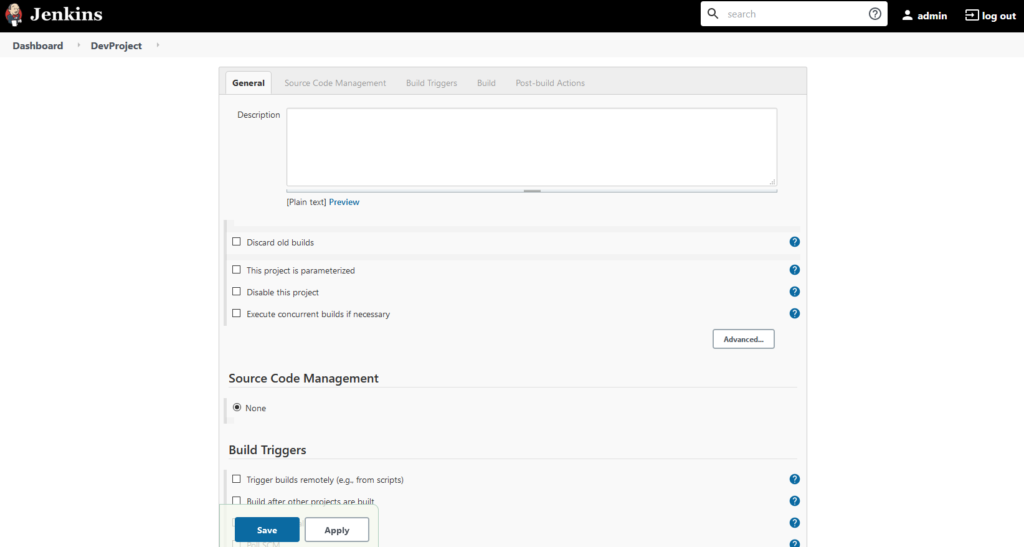
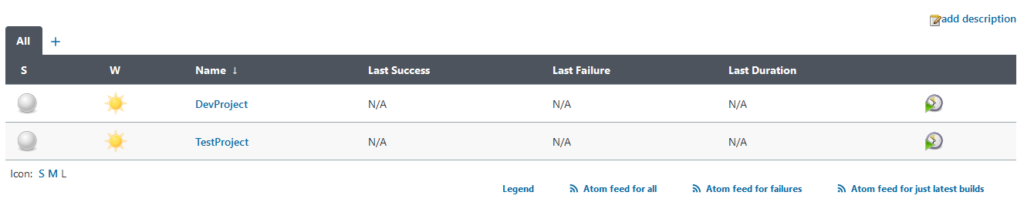
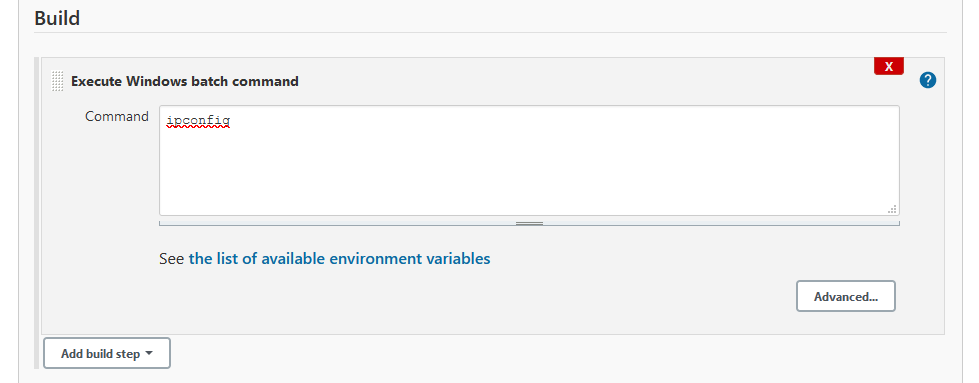
Lets create one freestyle project and add some command in Windows Batch Command as build of project for test.

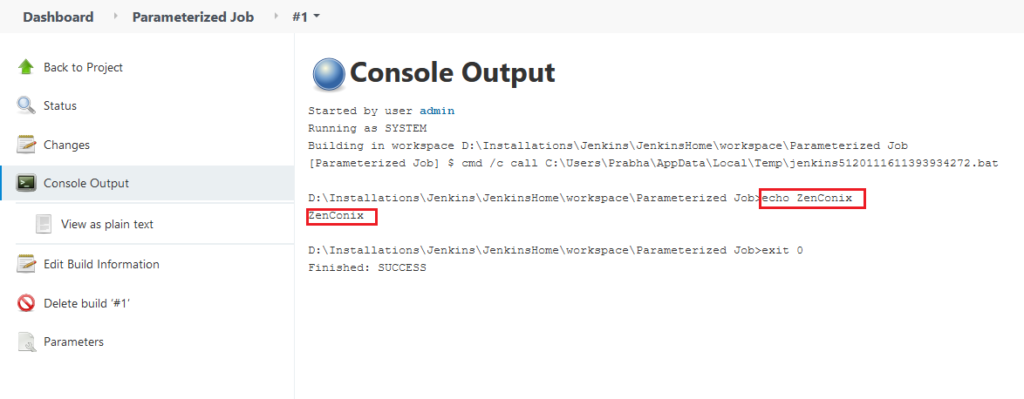
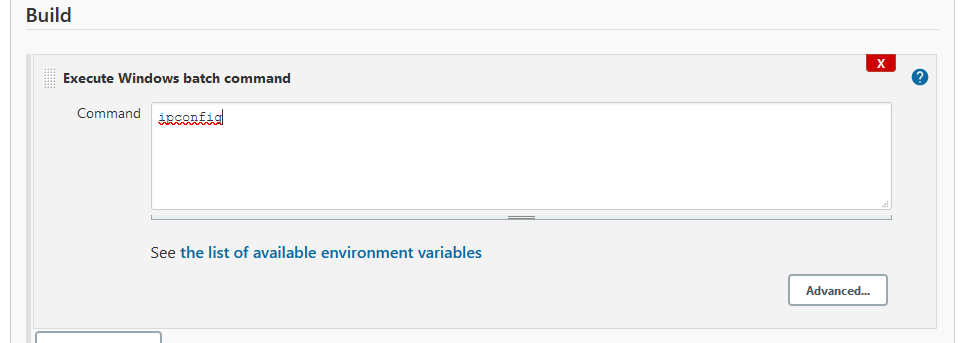
For build, I have just written simple command as ipconfig

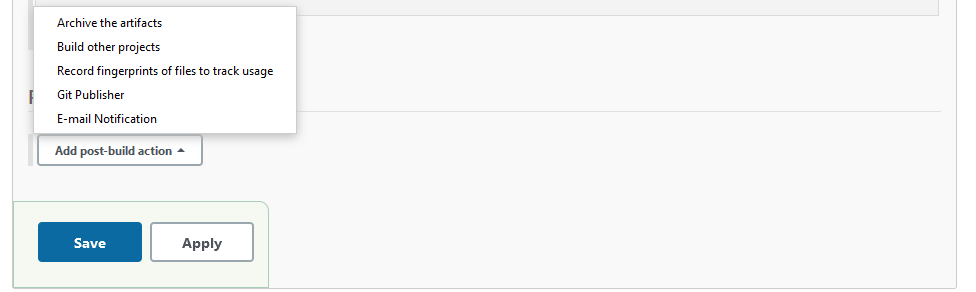
Go to post build action

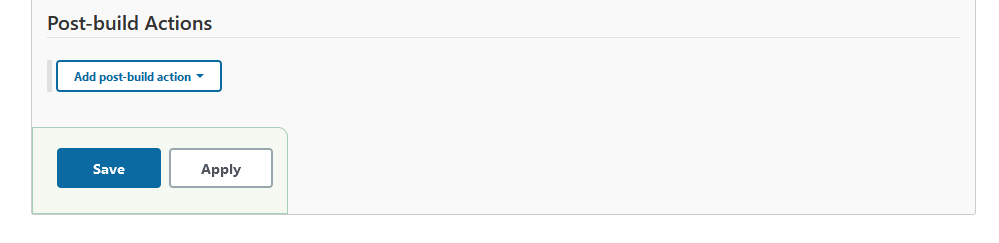
Click on “Add Post build actions” and select “E-mail notification” there

There, add recipient and click on Save button

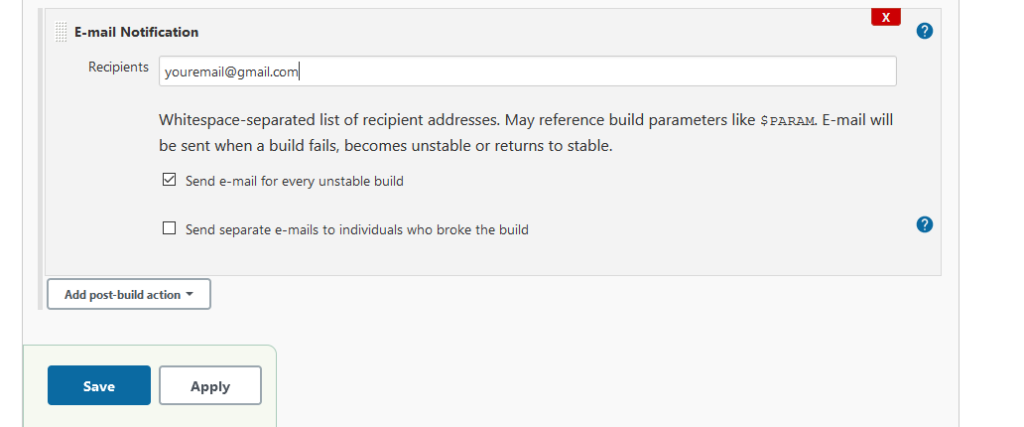
Here, we are going to send email if build fails.

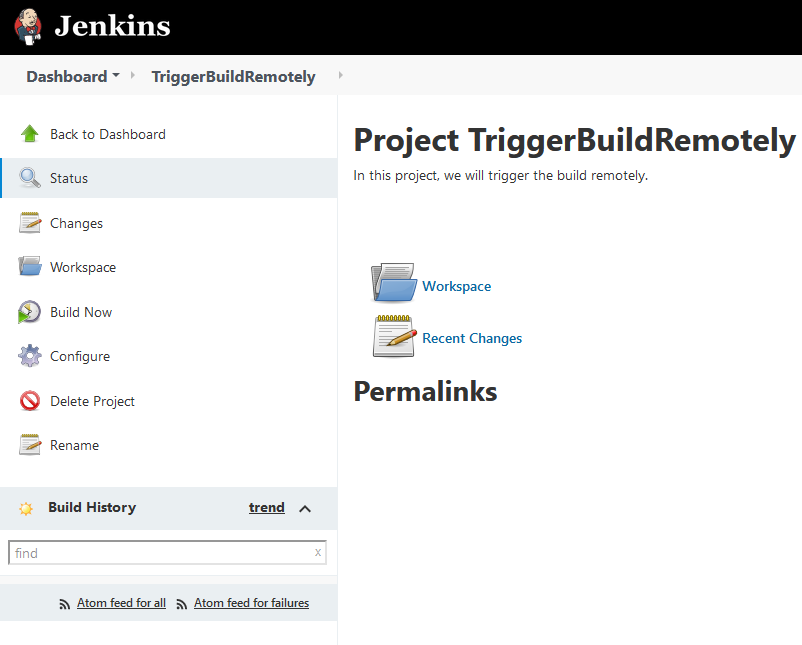
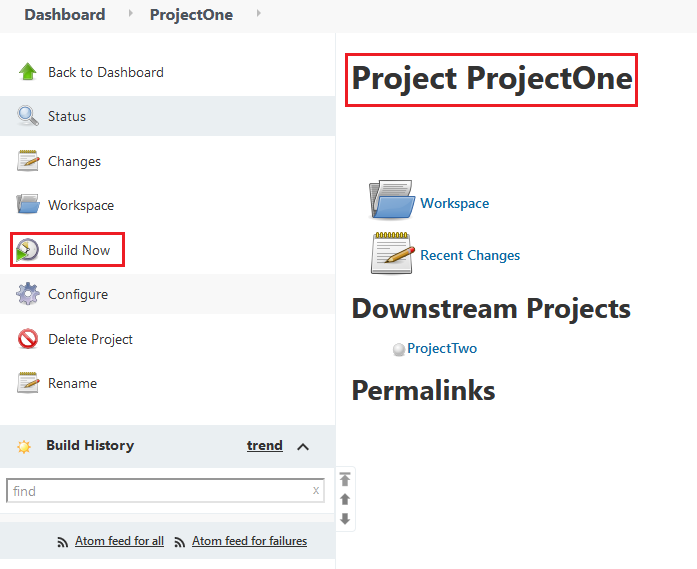
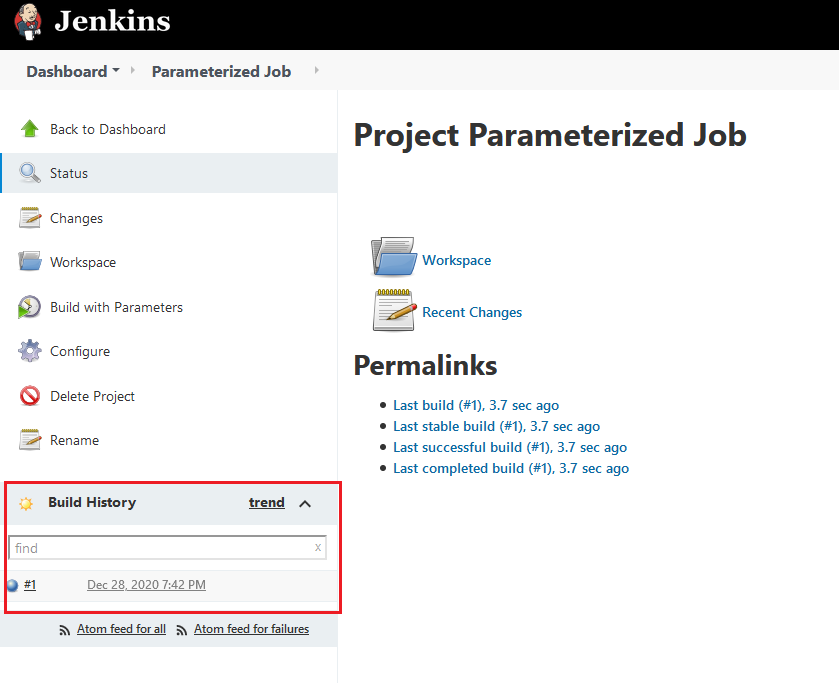
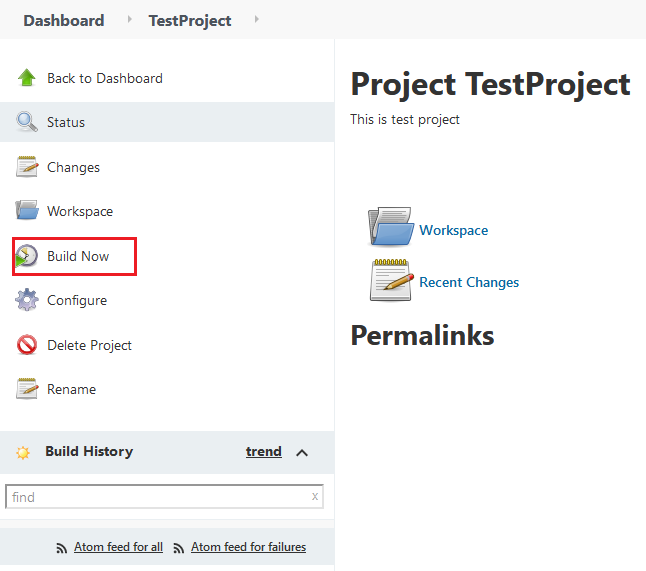
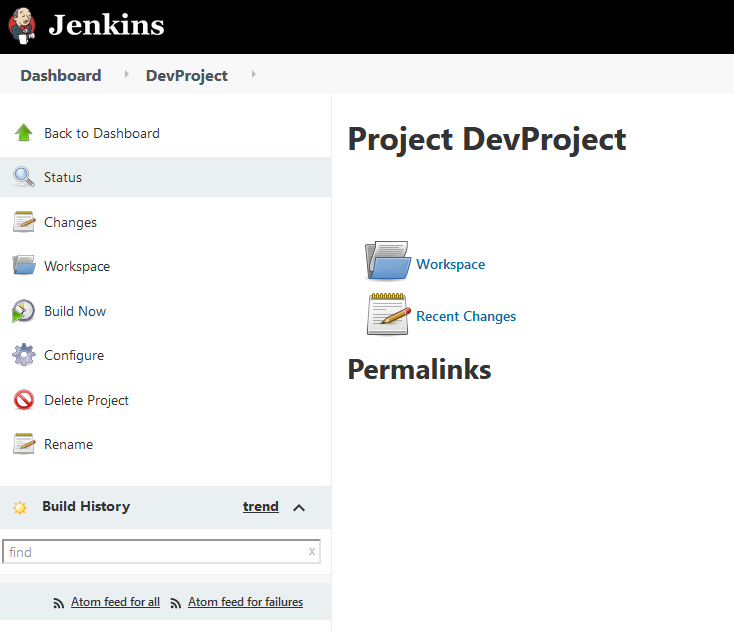
Lets build our project.

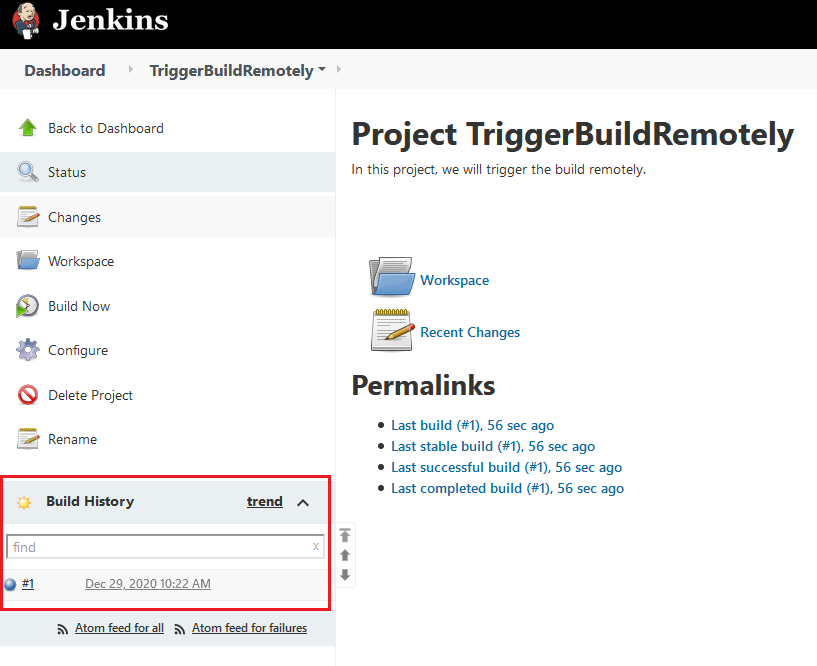
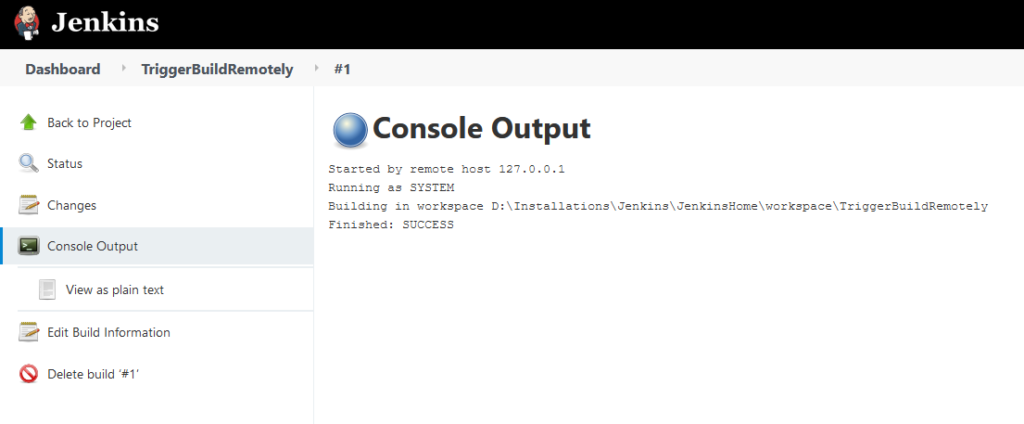
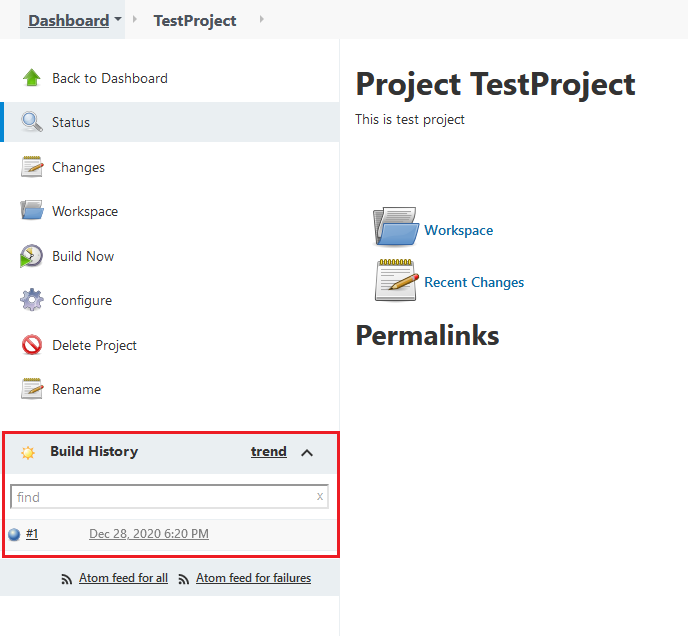
First run has built successfully.

now go to configure project again and make some mistake in our batch command in build section

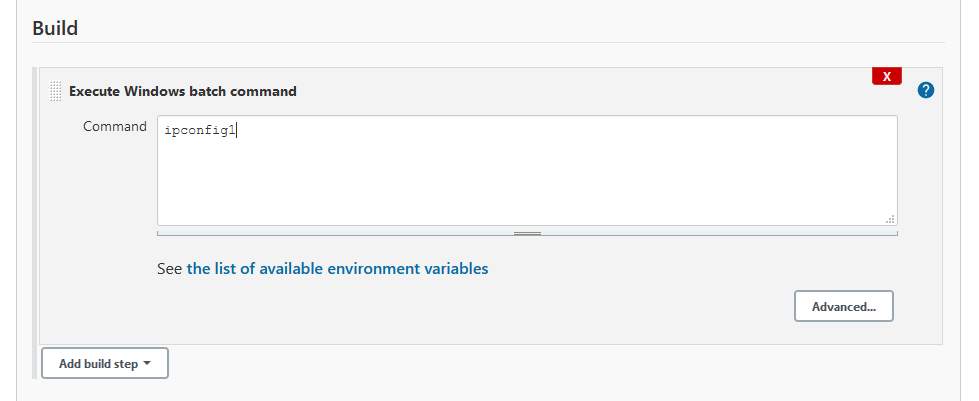
here I have added invalid command ipconfig1

Now try to build our project again and you can see build has been failed.

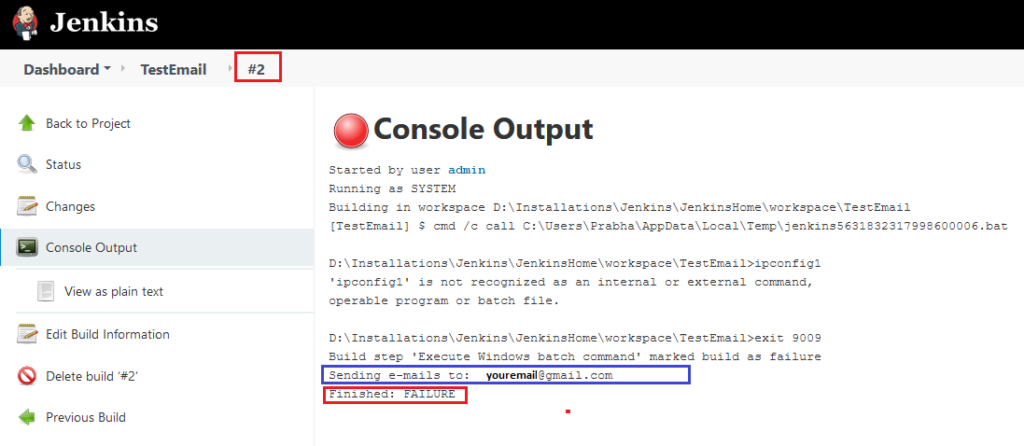
and it has send email to your recipient email address.

Features

Specifications

Preview

Understand build triggers in Jenkins


Visit Site:

Overview

Hello All,

Before getting started to understand build triggers in Jenkins, it is highly recommended to see previous post about Jenkins on our blog so that you will have good idea about Jenkins and will help to understand this post.

Lets get started, in previous post, we have seen how to create simple job in Jenkins

Create simple jobs in Jenkins

Now, in this post we will try to understand build triggers in Jenkins.

We have different type of build triggers available in Jenkins, we will see them one by one.

Trigger build Remotely

Quickly click on New Items from left side menu and create freestyle project there.

Next, scroll down to build trigger and select “Trigger build remotely”

With this, you need to enter Authentication token, make sure it is more complex.

Now we have URLs to build our jobs

JENKINS_URL/job/TriggerBuildRemotely/build?token=TOKEN_NAME

In our case, it would be

http://localhost:8080/job/TriggerBuildRemotely/build?token=Token$1234

OR

we have another URL

/buildWithParameters?token=TOKEN_NAME

In our case, it would be

http://localhost:8080//buildWithParameters?token=Token$1234

Now save the jobs and our job is ready

Now go to browser and hit URL as below.

http://localhost:8080/job/TriggerBuildRemotely/build?token=Token$1234

it will build our job, which we can see in history.

Also we can see console output as below.

Build After other projects are built

For this case, lets quickly create two new projects, ProjectOne and ProjectTwo

here I have created two new projects

also added Execute windows batch commands to them as echo ProjectOne and echo ProjectTwo respectively.

Now we need to build ProjectTwo once build of ProjectOne is finished.

Go to ProjectTwo and click on Configure

In that scroll down to Build Triggers and select “Build after other projects are built”

In Project to watch : enter “ProjectOne”

Note: we also can mention names of multiple projects there.

and select appropriate options below.

Save the project and build ProjectOne, once ProjectOne’s build is completed, it should automatically trigger the build run for ProjectTwo

I go to ProjectOne and from left side menu, hit on Build Now button.

And once its build has finished, we can see ProjectTwo’s build will start and in below image, can see it has finished successfully.

Build Periodically

Build periodically means, it will build the project in mentioned periodic time, example, if we setup to build the project every morning, it will build the project every morning at mentioned time or we can setup once in month or once in year etc.

Lets create new freestyle project to trigger it periodically.

Scroll down to Build Trigger option, select “Build Periodically”

In schedule, we can write the frequency of build to execute. If you click on Help icon, you can see detail information about how to setup schedule for job.

For now. I have setup per minute job, to that it will execute on every minute.

To setup per minute schedule, just write down * * * * * all starts separated by white space or tab

Save the Project and check out the history, it will execute every minute.

In upcoming post we will take a look on Poll SCM build trigger.

Features

Specifications

Preview

Create Parameterized job in Jenkins


Visit Site:

Overview

In last post, we have seen how to create simple job in Jenkins.

Now, in this post we will take a look on how can we create parameterized job in Jenkins.

Lets start with creating new project. Click on new item, and create freestyle project as below and hit OK button

From general setting, select checkbox – “This project is parameterized”

Now click on “Add Parameter” button

you can add parameter of type which ever you want , I am selecting string parameter for now.

Add some values to there, it is in combination of key value pair

so in above example, “Name” will be the key and default value will be “ZenConix”, this value can be change later. Description is optional here.

Now scroll down , into build section, select “Execute Windows batch command”

For test purpose, we are going to print back the value of our string parameter.

if you are on windows, then to get the value of parameter you need to write key in % example in our case it would be %name% but if you are on mac or linux, then you need to write in with $ sign and in curly braces as ${name}

Now click on save job and our job is ready.

but if you observe this, this time we have “Build with Parameter” instead of just build option.

Click on “Build with parameters” and you can input the string parameter here

Click on build button to build this job.

Project build successfully, you can see history in Build history section

Click on #1 to see output of the project.

Inside console output, you can see our build statement as well as output of our windows batch command

we also can add more parameter here, to add more parameter, go to project and click on “configure”

Click on “Add parameter”, this time, we are going to add Boolean parameter

Added new parameter by name “TestCompleted” with default value as false as I have unchecked checkbox for default value

Click on Save and our configuration is ready. Now again click on “Build with parameters”. this time you can see new parameter which is boolean value as there is checkbox to check.

Features

Specifications

Preview

Create simple jobs in Jenkins


Visit Site:

Overview

In this post, we are going to see how to create jobs in Jenkins.

If you are coming here at first time, I recommend to go to my previous post where we have explained about how to have initial setup for Jenkins in link below.

Now, lets get started to create job in Jenkins

Give some name to project and click on “Freestyle Project” and hit OK button

You can add some description over here

Scroll down and in Build Section, select “Execute windows batch command” from Add build step drowndown

inside text area, write command as ipconfig

Please note: I am on windows platform so I have selected windows batch command , if you are on linux or mac machine, then select “Execute shell” here also ipconfig command will not work on linux or mac machine

Click on save and our first job is ready

to run this job click on “Build Now” button

Inside build history, we can see history of our jobs

Click on #1 to see its details, there you can see Build information, now click on “Console Output” to see output of our job

and you can see output of our job here , all information of ipconfig listed over here

In upcoming posts we will see more details about create jobs in jenkins

Features

Specifications

Preview

Add Role Based Authorization to Jenkins


Visit Site:

Overview

In last post, we have seen how to install and configure initial setup for Jenkins .If you have not seen that post, it is highly recommended to read that blog post first at below URL

Now, in this post, we are going to take a look on how to assign a role and give access to user on particular project. for that first lets get started with creating users.

Create Users in Jenkins

To create user, login with admin user to Jenkins first.

Click on “Manage Jenkins” from left side menu.

Then click on “Manage Users”

Now, we have only one user there – “Admin”, click on “Create Users”

Here, create some users by filling up the forms.

I have created two users

  1. Developer
  2. Tester

Problem Definition

Lets say we have some projects, in which some users have permissions on some projects.

Example, if we have development projects only developer should have access on that project; tester should have access on testing project only.

Install Role based Authorization Strategy plugin

Now we are going to install plugin for managing authorization.

Go to Manage Jenkins from left side menu, and click on Manage Plugins.

Go to “Available” tab , and search for Role, there first plugin is “Role Based Authorization Strategy” , click on checkbox, and hit “Download now and install after restart” button

After it get install, it will show success message on the screen.

Now we have to restart the Jenkins.

To restart Jenkins, we have two options, either enter URL as below

http://localhost:8080/restart

or restart it via command prompt by hitting control + c and restart it again

Once it is restarted, go to Manage Jenkins and go to “Configure Global Settings”

Inside authorization, now we can see new option “Role based authorization” , select that option and click on Save

Now, again go to Manage Jenkins, we can see new option in securities , called “Manage and assign Roles”, click on it.

Manage Roles

Now are going to create and manage the roles, click on Manage Roles.

First create global role called as “Employee” and give “Read” access from Overall, and select all from “View”

Then click on Apply button.

Second we are going to create roles, we will create two roles developer and tester.

Here, we have created role with name as “Developer” and created pattern as “Dev.*”, means project starts with Dev will have access to Developer role only.

Example, if we have project name “DevSharePoint” then only user with developer role will have access on it.

Similarly we have created another role, called Tester and pattern as “Test.*” so projects start with “Test” will have access on tester role.

Assign Role

Now we are going to assign roles

First assign global roles – Employee to our users.

As we have 2 users developer and tester, assign them global role as Employee which we have created in last step

then click on apply button.

Then as second step, we will assign role to users

We have assign Developer role to our developer user and tester role to our tester user.

Click on apply and save.

Create Projects

Now we are going to create projects in Jenkins. One for Development project and other for testing project.

Go to Dashboard and click on New Item from left side menu

Create new project with Freestyle project with name “DevProject” so it will follow our pattern as “Dev.*” so only developer will have access on this project.

Click on save button and our project will get created.

Similarly create another same project with name “TestProject” so it will follow our pattern “test.*” and so only tester will have access on this project.

so now we have two projects here

Now try login with developer user, he should only see development project and tester user should be able to see testing project respectively.

Features

Specifications

Preview

Getting started with Jenkins


Visit Site:

Overview

In this post, we are going to take a look on how to install Jenkins in your windows machine/ windows server. Steps would be same in Mac OS however steps are different in Linux machine.

In this post we are going to check specifically for Windows environment.

So lets get started with downloading Jenkins from official website of Jenkins first. Go to https://www.jenkins.io/ then click on download button.

It will open download page – https://www.jenkins.io/download/

Download Jenkins for your environment, it will download Jenkins.war file. As Jenkins is java based application, it is platform independent.

Once file is downloaded, keep war file to your favorite location. I have placed it in “D” drive.

Now open command prompt (terminal if you are on Mac OS) and go to the location where you have kept the file.

Type command as below to start Jenkins.

java -jar jenkins.war

it will start Jenkins and add required files to users directory with logged in user.

Once it finish the installation, it will give admin password as highlighted, copy that password and go to below URL

http://localhost:8080

Getting started with Jenkins windows will appear, paste copied password in text box and hit on continue.

Next step, it will ask to install plugins, you can either select suggested plugin or selects plugins from list of plugins Jenkins offers.
We also can install plugins whenever we required, so I go with “select plugin to install” and select none of them .

Then hit on “Install” button to continue, it will ask for create new user. You can create new user or continue with admin.

I am selecting continue with admin here.

And we have done with initial configuration.

Once we click on save and finished, Jenkins is ready to use.

Click on Start using jenkins. Congratulations, you have successfully installed and completed initial configuration of Jenkins. And it is ready to use now.

Notes:

  1. Find Initial Admin Password:
    You can find initial admin password in Jenkins folder. Jenkins folder is in users/yourlogggedInName folder, example, my username for windows machine is prasad so I can find at the location C:\Users\Prasad\.jenkins
    Make note: this folder is hidden folder.
    In this folder, there is one folder called “secret” , in secret folder there is file named initialAdminPassword, this file contain initial Admin Password for Jenkins

2. Adding initial user

You may need to add admin user while setup but we can add users later as well.

Features

Specifications

Preview