Published on: 12/27/20 4:58 AM
Category:DevOps Jenkins Tags: Authorization, DevOps, JenkinsIn last post, we have seen how to install and configure initial setup for Jenkins .If you have not seen that post, it is highly recommended to read that blog post first at below URL
Now, in this post, we are going to take a look on how to assign a role and give access to user on particular project. for that first lets get started with creating users.
Create Users in Jenkins
To create user, login with admin user to Jenkins first.
Click on “Manage Jenkins” from left side menu.
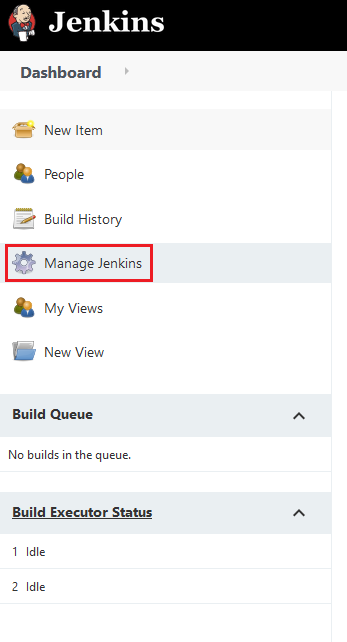
Then click on “Manage Users”
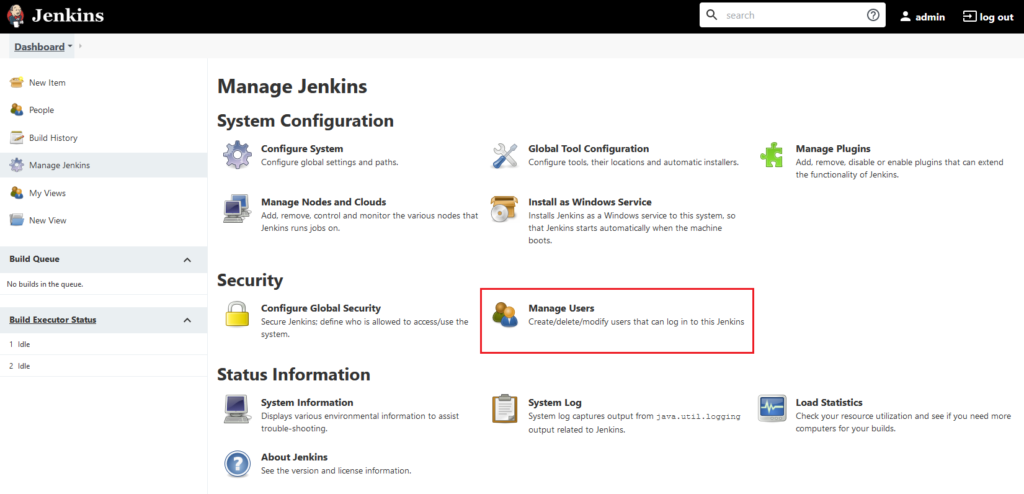
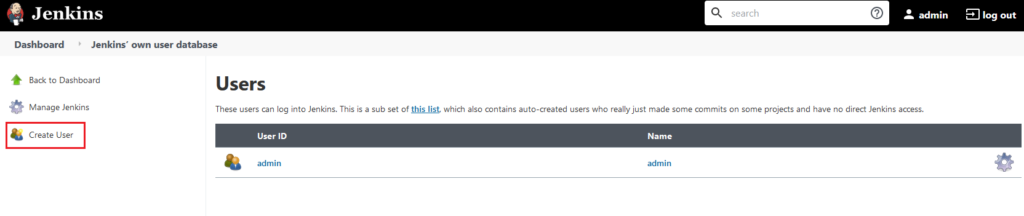
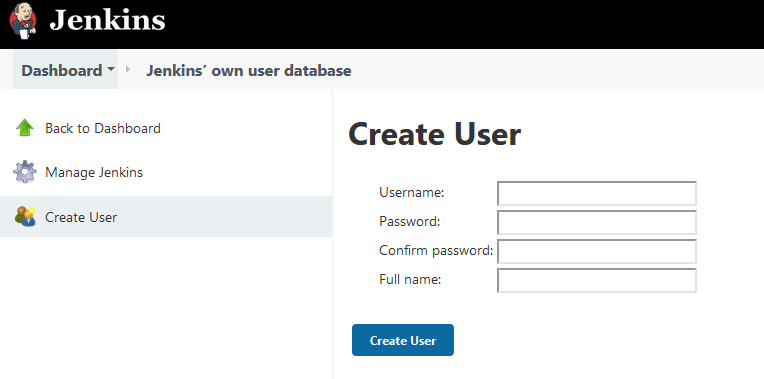
Now, we have only one user there – “Admin”, click on “Create Users”
Here, create some users by filling up the forms.
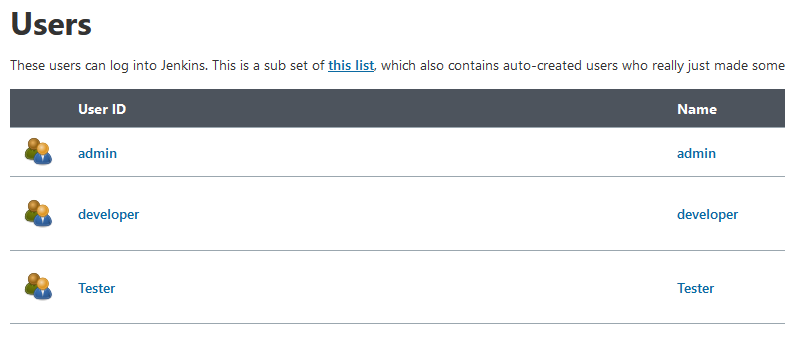
I have created two users
- Developer
- Tester
Problem Definition
Lets say we have some projects, in which some users have permissions on some projects.
Example, if we have development projects only developer should have access on that project; tester should have access on testing project only.
Install Role based Authorization Strategy plugin
Now we are going to install plugin for managing authorization.
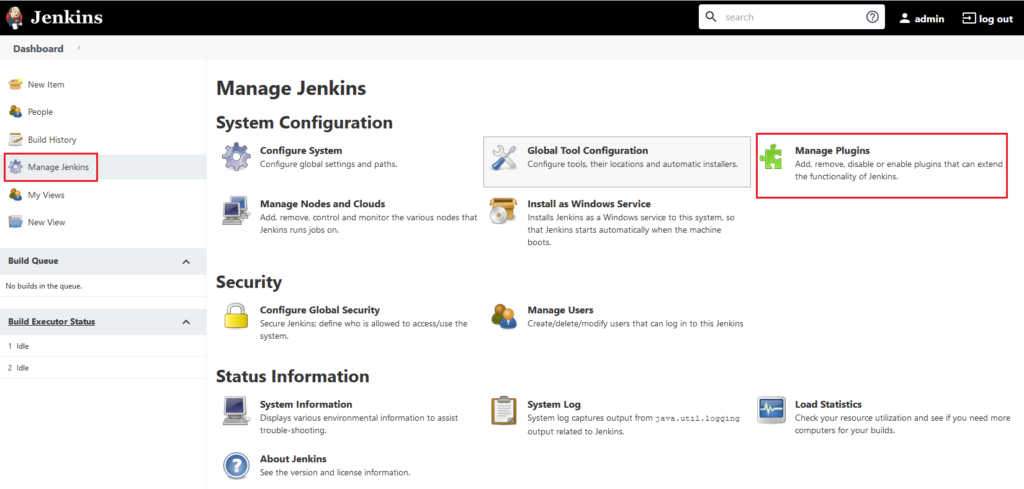
Go to Manage Jenkins from left side menu, and click on Manage Plugins.
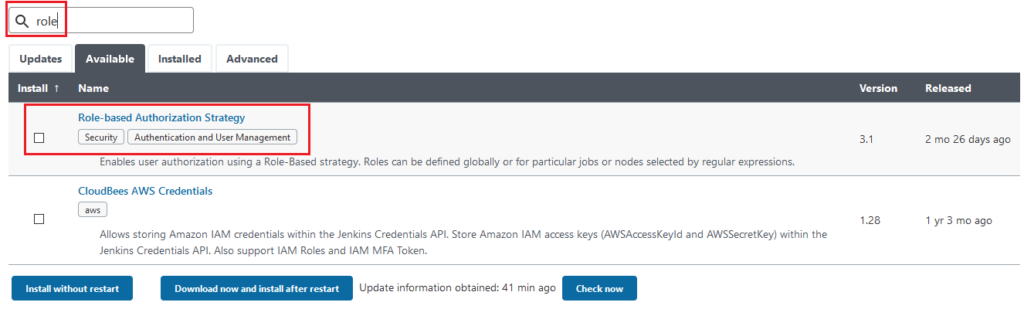
Go to “Available” tab , and search for Role, there first plugin is “Role Based Authorization Strategy” , click on checkbox, and hit “Download now and install after restart” button
After it get install, it will show success message on the screen.
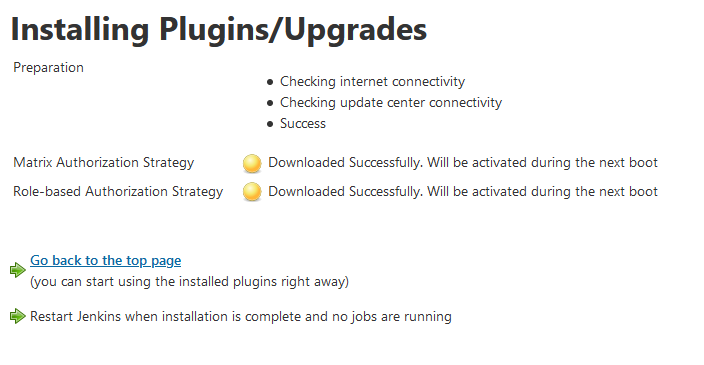
Now we have to restart the Jenkins.
To restart Jenkins, we have two options, either enter URL as below
http://localhost:8080/restart
or restart it via command prompt by hitting control + c and restart it again
Once it is restarted, go to Manage Jenkins and go to “Configure Global Settings”
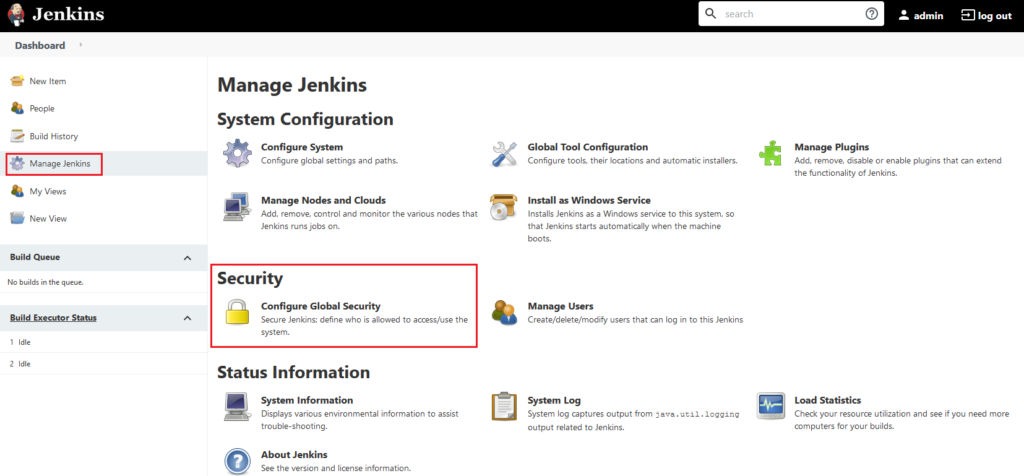
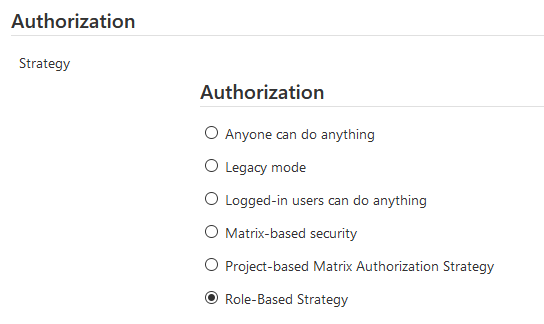
Inside authorization, now we can see new option “Role based authorization” , select that option and click on Save
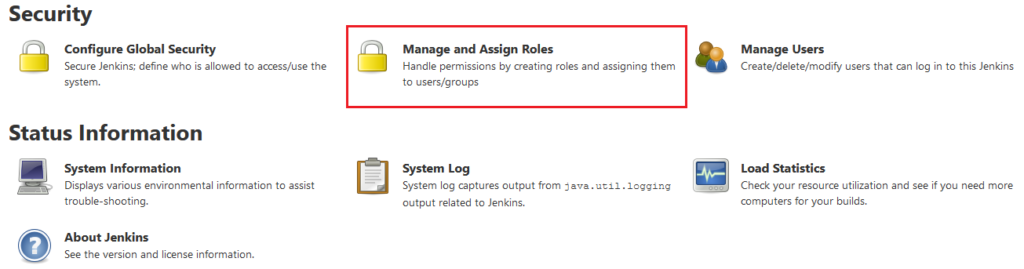
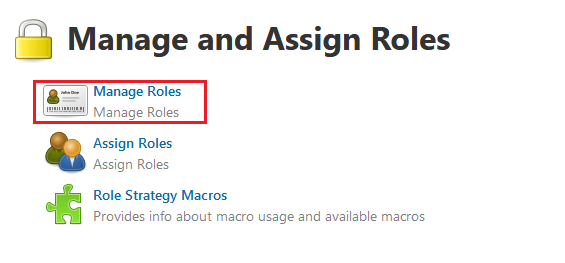
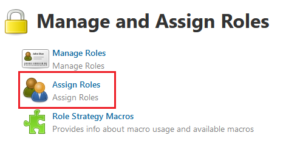
Now, again go to Manage Jenkins, we can see new option in securities , called “Manage and assign Roles”, click on it.
Manage Roles
Now are going to create and manage the roles, click on Manage Roles.
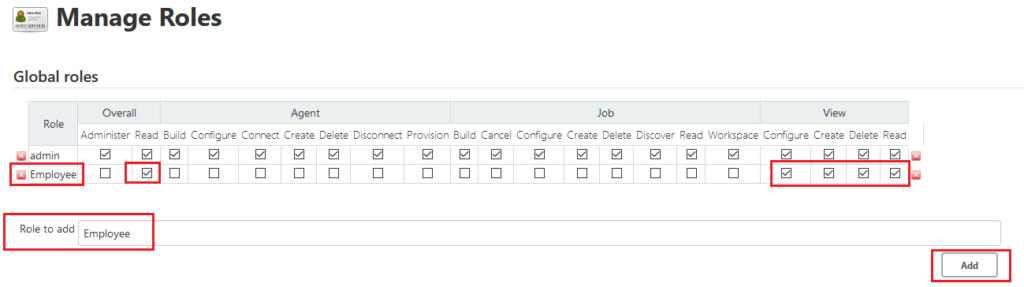
First create global role called as “Employee” and give “Read” access from Overall, and select all from “View”
Then click on Apply button.
Second we are going to create roles, we will create two roles developer and tester.
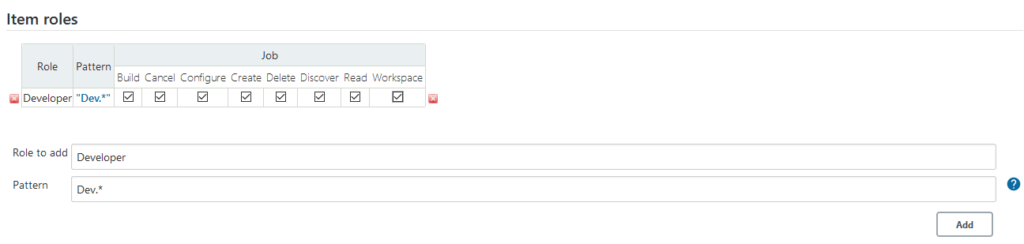
Here, we have created role with name as “Developer” and created pattern as “Dev.*”, means project starts with Dev will have access to Developer role only.
Example, if we have project name “DevSharePoint” then only user with developer role will have access on it.
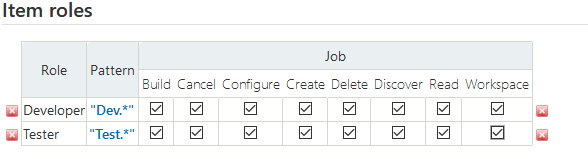
Similarly we have created another role, called Tester and pattern as “Test.*” so projects start with “Test” will have access on tester role.
Assign Role
Now we are going to assign roles
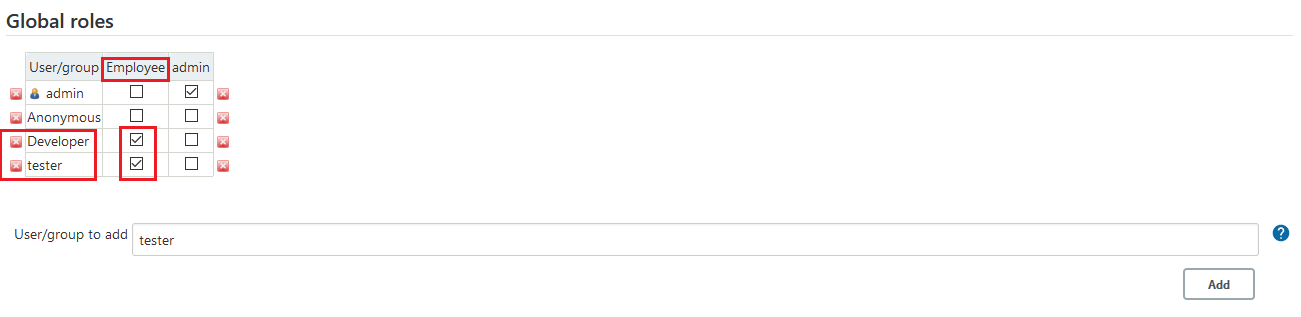
First assign global roles – Employee to our users.
As we have 2 users developer and tester, assign them global role as Employee which we have created in last step
then click on apply button.
Then as second step, we will assign role to users
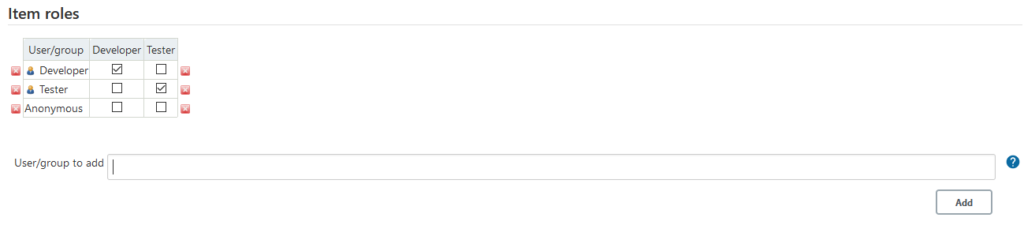
We have assign Developer role to our developer user and tester role to our tester user.
Click on apply and save.
Create Projects
Now we are going to create projects in Jenkins. One for Development project and other for testing project.
Go to Dashboard and click on New Item from left side menu
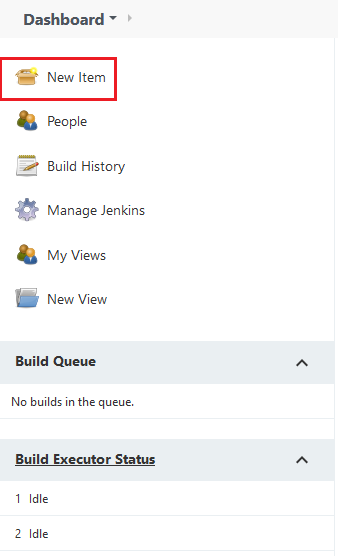
Create new project with Freestyle project with name “DevProject” so it will follow our pattern as “Dev.*” so only developer will have access on this project.
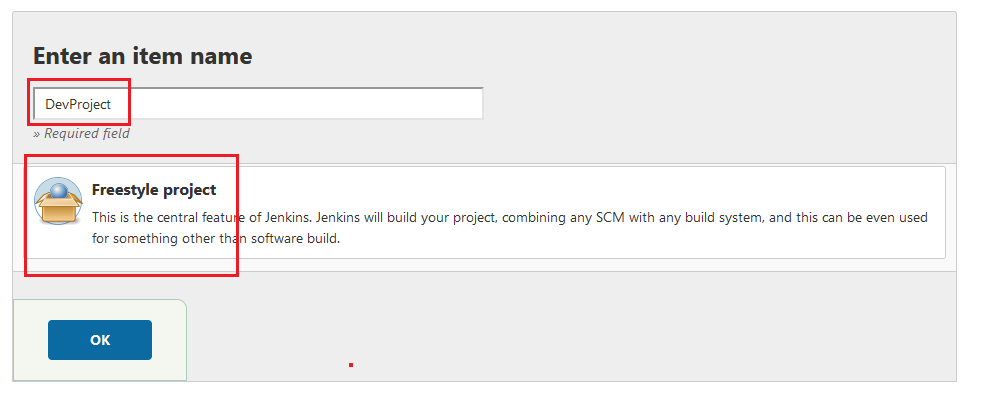
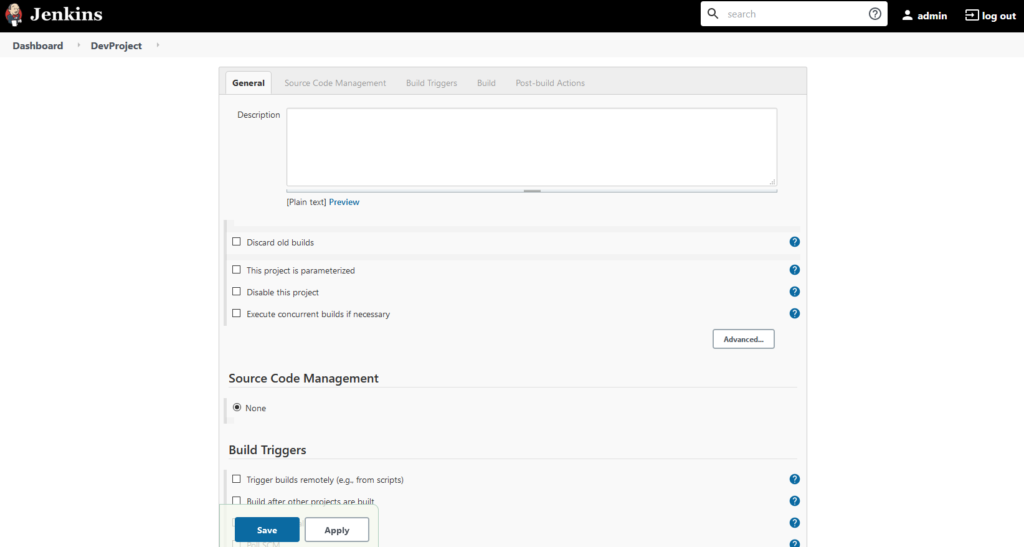
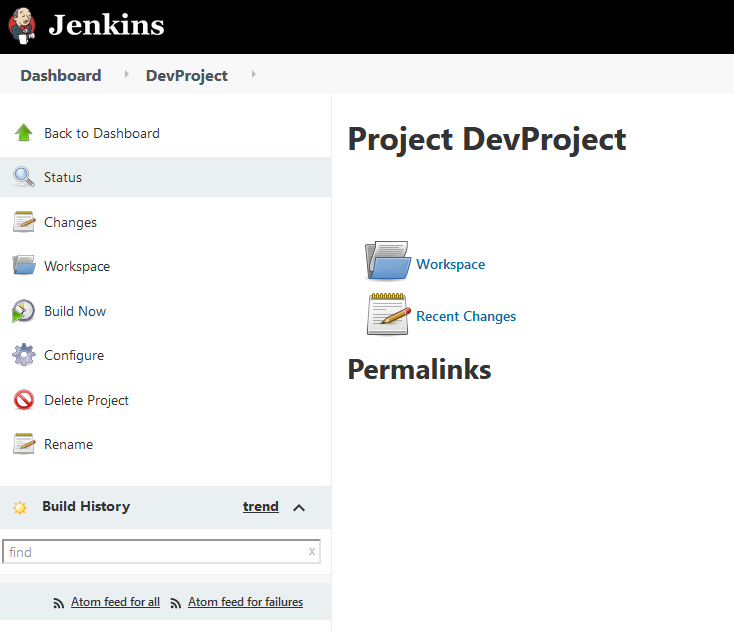
Click on save button and our project will get created.
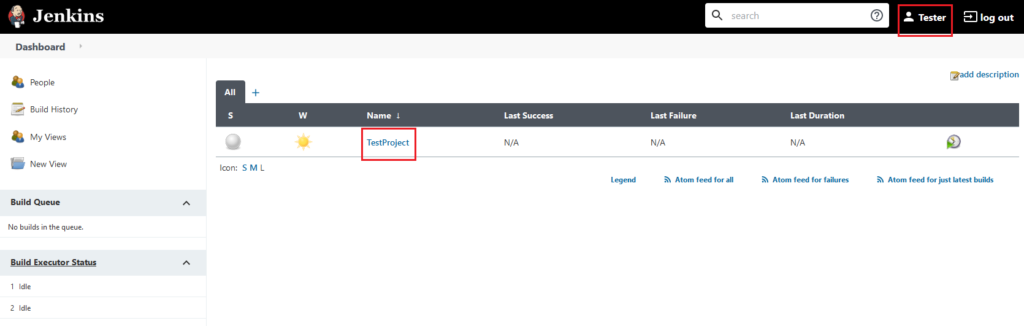
Similarly create another same project with name “TestProject” so it will follow our pattern “test.*” and so only tester will have access on this project.
so now we have two projects here
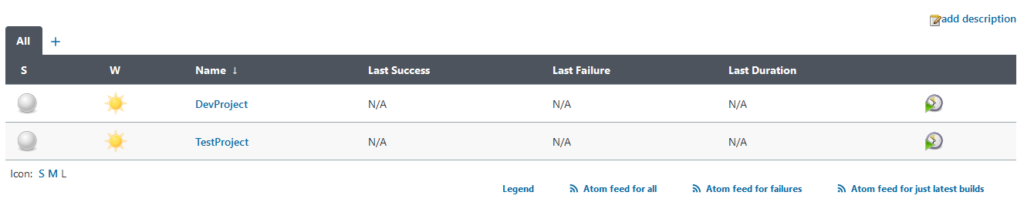
Now try login with developer user, he should only see development project and tester user should be able to see testing project respectively.